New in version 4.0 is the ability to display team logos in schedule sliders, schedule tables, and countdown timers. However, some groundwork is required to take advantage of this capability (nothing is free). I will probably create some videos on all this, but in the meantime here’s a step-by-step version of the how’s and why’s. Note: Besides providing increased functionality and simplifying date entry, this is the direction the MSTW Framework is heading; i.e., the pre-4.0 legacy data structures will not be supported indefinitely. So you plan to continue using the MSTW Framework and Plugins, you really should consider migrating to it as soon as it is convenient. No rush but … caveat emptor.
1. First, install the MSTW Game Locations plugin. Creating a location(venue) entry for each team allows the plugin to display game locations as well as map and venue links in the formats you set in Display Settings. The effort you expend in creating this database comes back to you when building schedules, regardless of whether you choose to use this simple plugin to provide driving directions. Keep reading and this will make more sense.
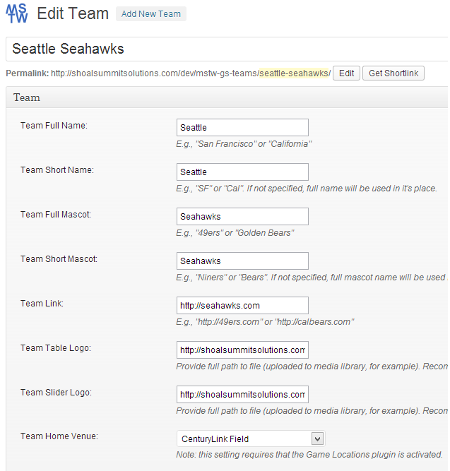
2. Now enter the teams that will appear on your schedule(s), including the home team for the schedule. There is a new Teams entry in the Game Schedules admin menu. When you add or edit a team, you see the screen shown below.

Note the last field on the screen “Team Home Venue”. It is populated with the locations you entered into the MSTW Game Locations plugin database in step 1. So that’s why you want to do step 1 first. The fields on this screen are discussed on the Edit Team page, so we won’t discuss them further here.
You might wonder why you should include the home team for the schedule. Since you don’t play yourself, the home team does not appear on the schedule, does it? While it doesn’t appear on the schedule directly, the home team’s location will be used for every HOME GAME on the schedule. In the future we may also show the home team’s season win-loss record, link to the home team’s league standings and create a “single game view” which will include the home team’s name and logo. So be sure to enter the home team’s location in the Game Locations DB and enter the home team in the Teams DB.
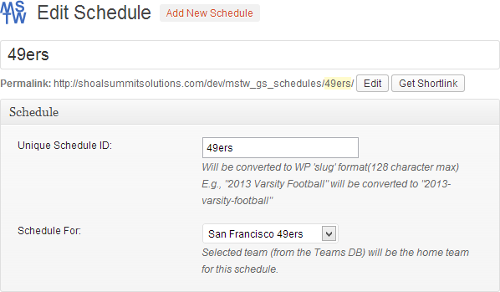
3. Next go to the new Schedules entry in the Game Schedules menu.

This one is pretty simple. Enter a new or existing schedule ID (this is a slug and will be converted to that format) and select a team for that schedule from the pulldown of the teams you previously entered in the Teams DB. This is the home team for the schedule. (See why you need to enter the home team in the Teams DB?)
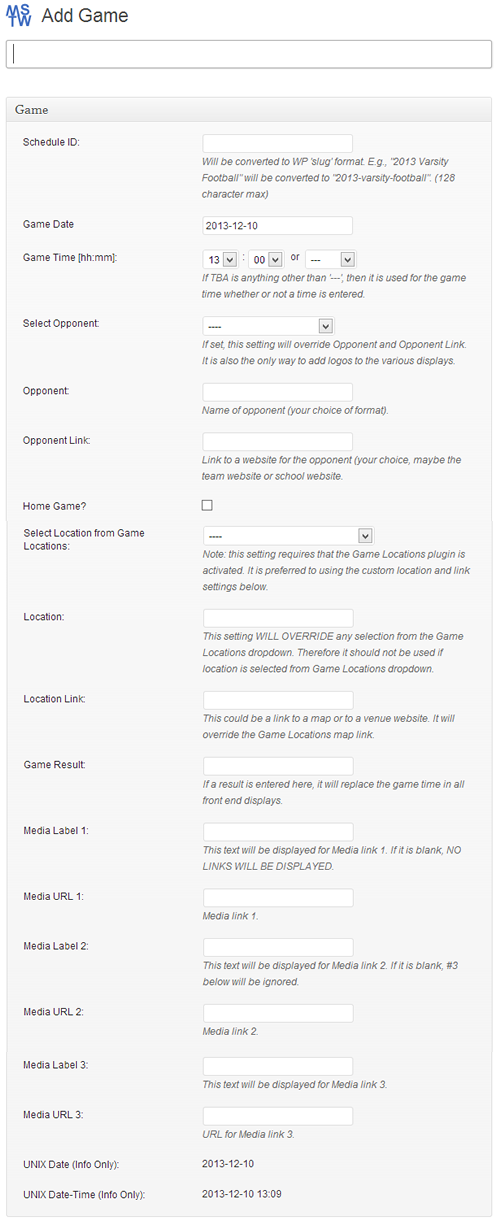
4. NOW go to the Games Menu option and enter games data. You can read more about that on the Add/Edit Games page, but note that you now only need to enter the Schedule ID, the game date and time, the opponent, and whether or not it is a home game. Having done the ground work, the actual game entry becomes quick and easy.

